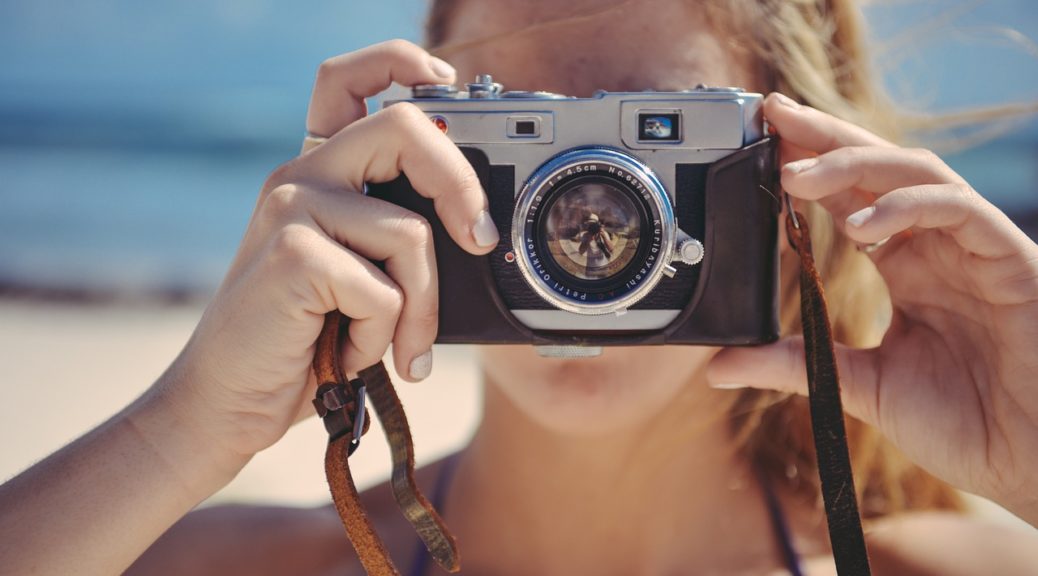
Roundup: What is the best photography tip that you’ve received?
11 bloggers weighed in on the best photography tip they’ve received and why. There are so many great tips listed here for beginners to advanced photographers.
Just take one photo! I used to obsess over getting a shot right (ok and sometimes still do), but another blogger taught me that often times, the first photo you take is the best. The other 25 of the same thing just take up space on your phone, camera, etc. Jennifer Wright @stylishlysocial
Create a Sense of Depth – When photographing landscapes it really helps to create a sense of depth, in other words, make the viewer feel like they are there. Use a wide-angle lens for a panoramic view and a small aperture of f/16 or smaller to keep the foreground and background sharp. I do alot of photography for my blogs because one of my blogs is a travel blog. This tip was a huge positive for my photos when traveling. Of course I take pictures of my family and pets. Debbie Champagne @debchampagne1
A photographer friend of mine has given me lots of great tips, but the best one was to use natural light instead of the flash whenever possible. I do, and some of my best pictures come out when taken near a window like she also suggested. Melanie Odette @Smellyann
As a food and DIY blogger, most of my photography focuses on still objects like food ingredients or finished projects. I’m rather impatient by nature, so it took me a long time to take some of the simplest and most basic pieces of advice I’d been given to improve my food and product photography: Use. A. TRIPOD. I finally invested in a really great tripod. It’s about 5 feet tall, has an adjustable arm that I can use to shoot flat-lays overhead, and a quick release camera plate that makes switching from hand-held to tripod shots a breeze. Sometimes I still groan when it comes time to set it up, but the truth is that my tripod actually makes taking great photos a whole lot easier! Mary Helen @marymakesgood
My favorite photography tip was to always use natural lighting from the early morning or early evening. This has completely changed my photography game! I can now take good quality photos without spending hours editing the lighting or retaking later. Joyce Duboise @JoyceDuboise
Good lighting, good lighting, good lighting. It’s the key to a winning shot. Candice FCMammas
Try to use natural light. They were right – my pics in natural light look so much better! Tina Bassett @LIChevyMetsGrrl
The best camera is the one you have with you – if a cell phone is what you have, that is the best! It’s well and good to use an expensive DLSR but how often do we have that in our back pocket? Athena Nagel @stuffofsuccess
I learned that natural light is the best light. I photograph projects for my blog all the time, and the best pictures are the ones either taken outside or by the windows in my living room. The natural light from the sun makes a photograph look more realistic and genuine. Adrienne Brown @creationsbyab
“Use what you have to the best of it’s ability”. That is the best photography tip I’ve ever read. It’s not so much about the equipment as it is about how you use it, lighting, composition and editing. Use what you have right now, and master it. Take amazing photos despite what you’re using. Joanne Greco @joannegreco
Lighting Bargnhtress @Bargnhtr
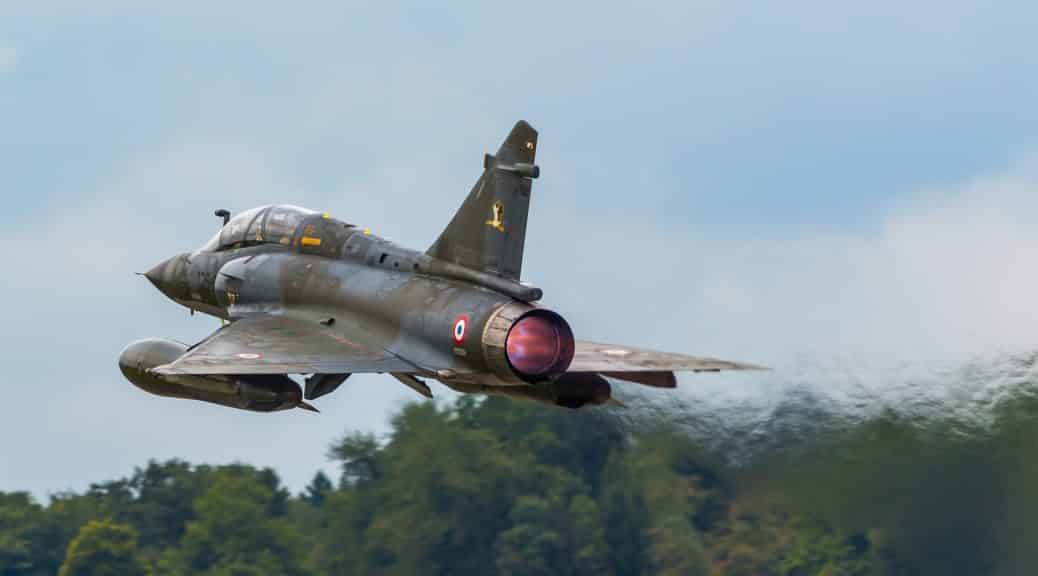

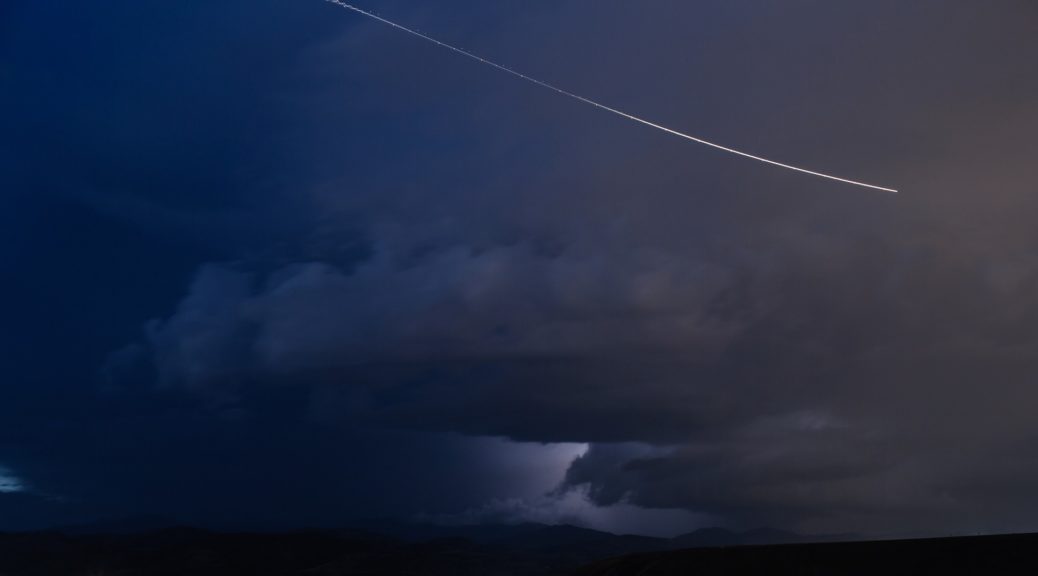


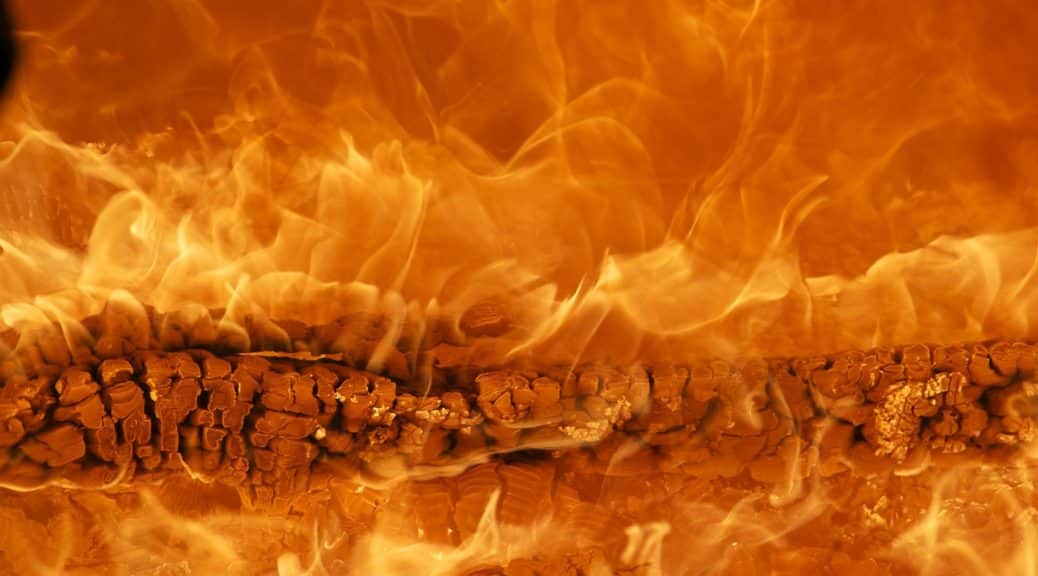

 After you have adjusted the cameras shooting mode and turned the flash off you need to then
 After you have had gotten the settings adjusted, set it on the best mode for capturing fire and turned off the flash you should adjust the cameras shutter speed to longer than before. By lengthening the speed